How to EQ vocals
To EQ vocals, high-pass the low rumble, cut the frequencies that make the voice sound muddy or boxy, tame any harshness around the “s” sounds, then add a gentle presence and air boost so the vocal sits clearly on top of the mix. Done well, EQ makes a vocal feel closer, cleaner, and more expensive — without changing the performance.
This guide walks through EQ’ing a vocal step by step, with the common mistakes to avoid, some pro tips, and starting settings you can dial in and trust.
EQ tools for vocals


What you’ll need
- A recorded vocal that’s already well captured (EQ fixes tone, not a bad take).
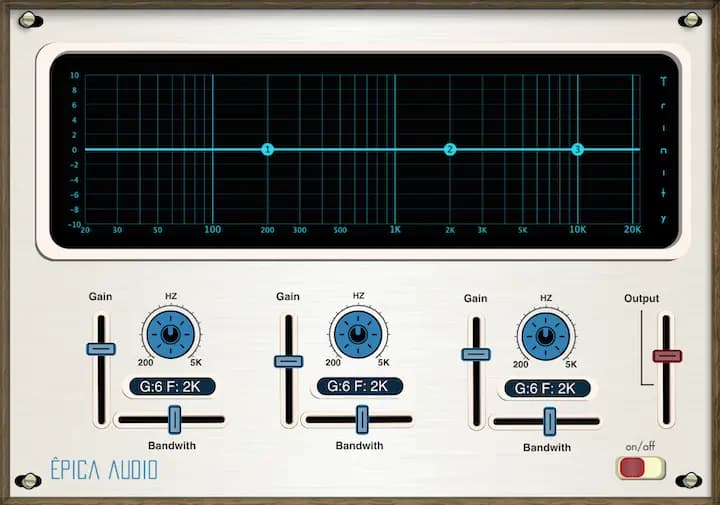
- An EQ plugin — ideally with a spectrum analyser so you can see what you’re hearing. A dedicated EQ like Trinity EQ works, or an all-in-one vocal channel strip that bundles EQ with the rest of the chain.
- Good monitoring: headphones or speakers you know well. Most EQ mistakes come from not trusting your ears in an untreated room.
How to EQ vocals, step by step
1. High-pass to clear the low end
Roll off everything below the voice with a high-pass filter — usually somewhere between 80–120 Hz for most voices, higher for a thin or airy delivery. There’s no useful vocal information down there, only rumble, plosives, and mic-stand thumps that eat headroom. Sweep the filter up until the low-end mud clears but the body of the voice stays intact, then back off slightly.
2. Cut the mud and boxiness
The 200–500 Hz region is where vocals turn muddy (low mids) and boxy (around 300–400 Hz). If the voice sounds thick or congested, make a narrow cut and sweep to find the worst spot, then reduce it by a few dB. Cutting here often does more for clarity than any boost — you’re removing what’s in the way rather than pushing the voice harder.
3. Tame harshness and sibilance
Harshness lives around 2–5 kHz, and sibilance — the piercing “ess” and “t” sounds — sits higher, around 5–9 kHz. Find the offending frequency with a narrow band and cut gently. For sibilance specifically, a de-esser is usually cleaner than a static EQ cut, because it only acts when the “s” hits; a static cut can dull the whole vocal.
4. Add presence and air
Now the subtractive work is done, add a little back. A broad boost around 3–5 kHz brings presence and intelligibility, so the words cut through. A gentle high-shelf above 10 kHz adds “air” and openness. Keep boosts wide and modest — a couple of dB is plenty. If you need a lot, something earlier in the chain is probably wrong.
5. EQ in context, not in solo
Solo is for finding a frequency, never for judging it. Make your final decisions with the whole mix playing — a vocal that sounds perfect in solo often disappears or turns harsh against the track. Bypass often to compare, and trust the version that sits best in the song, not the one that sounds biggest on its own.
An all-in-one shortcut
If you’d rather not build the chain by hand, a vocal channel strip gives you EQ alongside the compression, de-essing, and saturation a vocal usually needs — in one place, in the right order.

A full vocal chain — EQ, dynamics, and more in one plugin
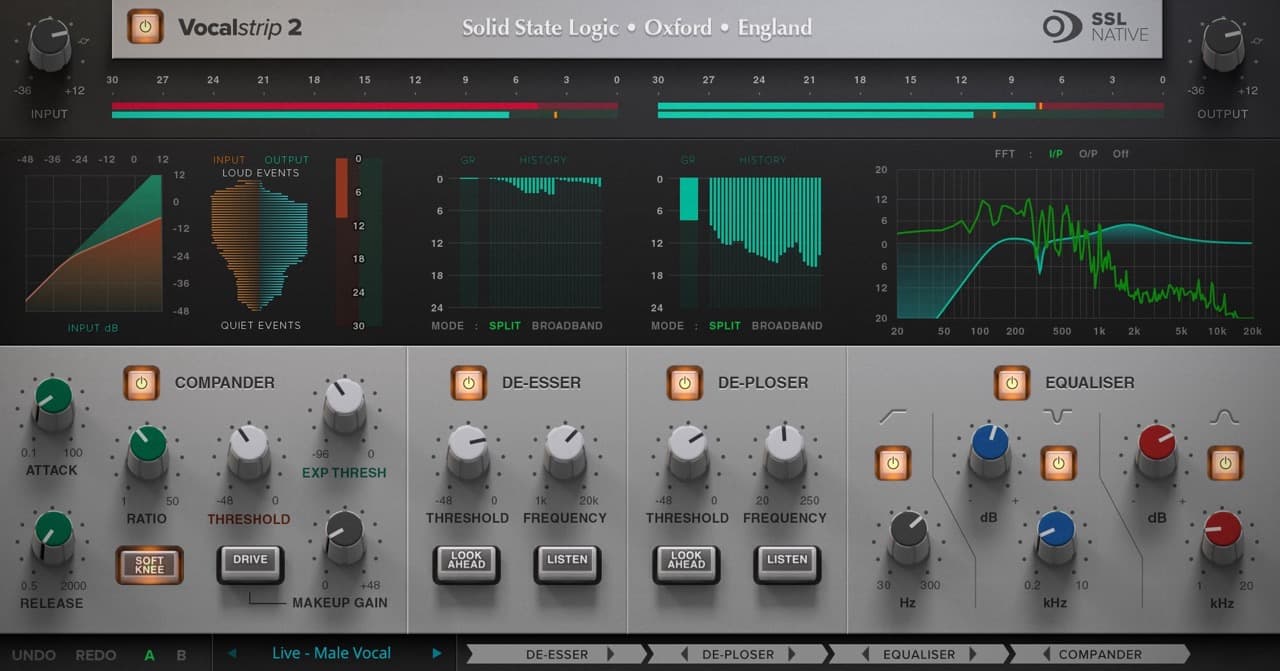
VocalStrip 2 bundles the whole vocal treatment into a single interface, so you can high-pass, EQ, de-ess, and control dynamics without patching five plugins together. It’s a fast way to get a polished vocal, and a good teacher too — you can see how each stage changes the sound.
For a bit of analog character rather than surgical precision, a coloured EQ like DALEQ Core adds a musical warmth as you boost — nice on a vocal that needs life rather than fixing.
Common mistakes
- Boosting instead of cutting. Reach for a cut first; it’s cleaner and keeps headroom. Boosting to fix a problem usually makes it worse.
- EQ’ing in solo. As above — always confirm in the mix.
- Over-brightening. Piling on 8–12 kHz makes a vocal sound expensive for ten seconds and fatiguing for the rest of the song. Air is a seasoning, not a main course.
- One EQ for every vocal. Every voice and mic is different. Start from the ranges here, but let your ears place the moves.
- Fixing performance with EQ. If the take is dull or harsh at the source, re-record or change the mic — EQ can only do so much.
Pro tips
- Automate it. A chorus may want more air than a verse; a shouted line may need a harshness cut that a quiet line doesn’t. Automating a band or two beats one static setting.
- Subtractive then additive. Cut the problems first, gain-match, then add presence and air. In that order your boosts do far less work.
- Match the tone to the song. A pop lead wants presence and air; an intimate acoustic vocal wants warmth and less top end.
Starting settings you can trust
| Move | Frequency | What it does |
|---|---|---|
| High-pass | 80–120 Hz | Removes rumble and plosives |
| Cut (narrow) | 200–500 Hz | Clears mud and boxiness |
| Cut (narrow) | 2–5 kHz | Tames harshness |
| De-ess / cut | 5–9 kHz | Controls sibilance |
| Boost (wide) | 3–5 kHz | Adds presence and clarity |
| High-shelf | 10 kHz+ | Adds air and openness |
Treat these as a map, not a preset — sweep to find the exact spot for your vocal.
Next steps
EQ is one part of a vocal chain. Learn the fundamentals in our guide to the principles of EQ, see the wider picture in mixing vocals, and when you’re ready to add space, read up on what reverb is. Get Trinity EQ, VocalStrip 2, and the rest free with MuseHub.